Home Page › Discussion Forum › General Windsports Discussion › Windsurfer Heel Depression Repair
- This topic has 10 replies, 2 voices, and was last updated 4 years ago by
Anonymous.
-
AuthorPosts
-
-
May 28, 2016 at 11:30 am #3473
 windydougKeymaster
Preparing the board.
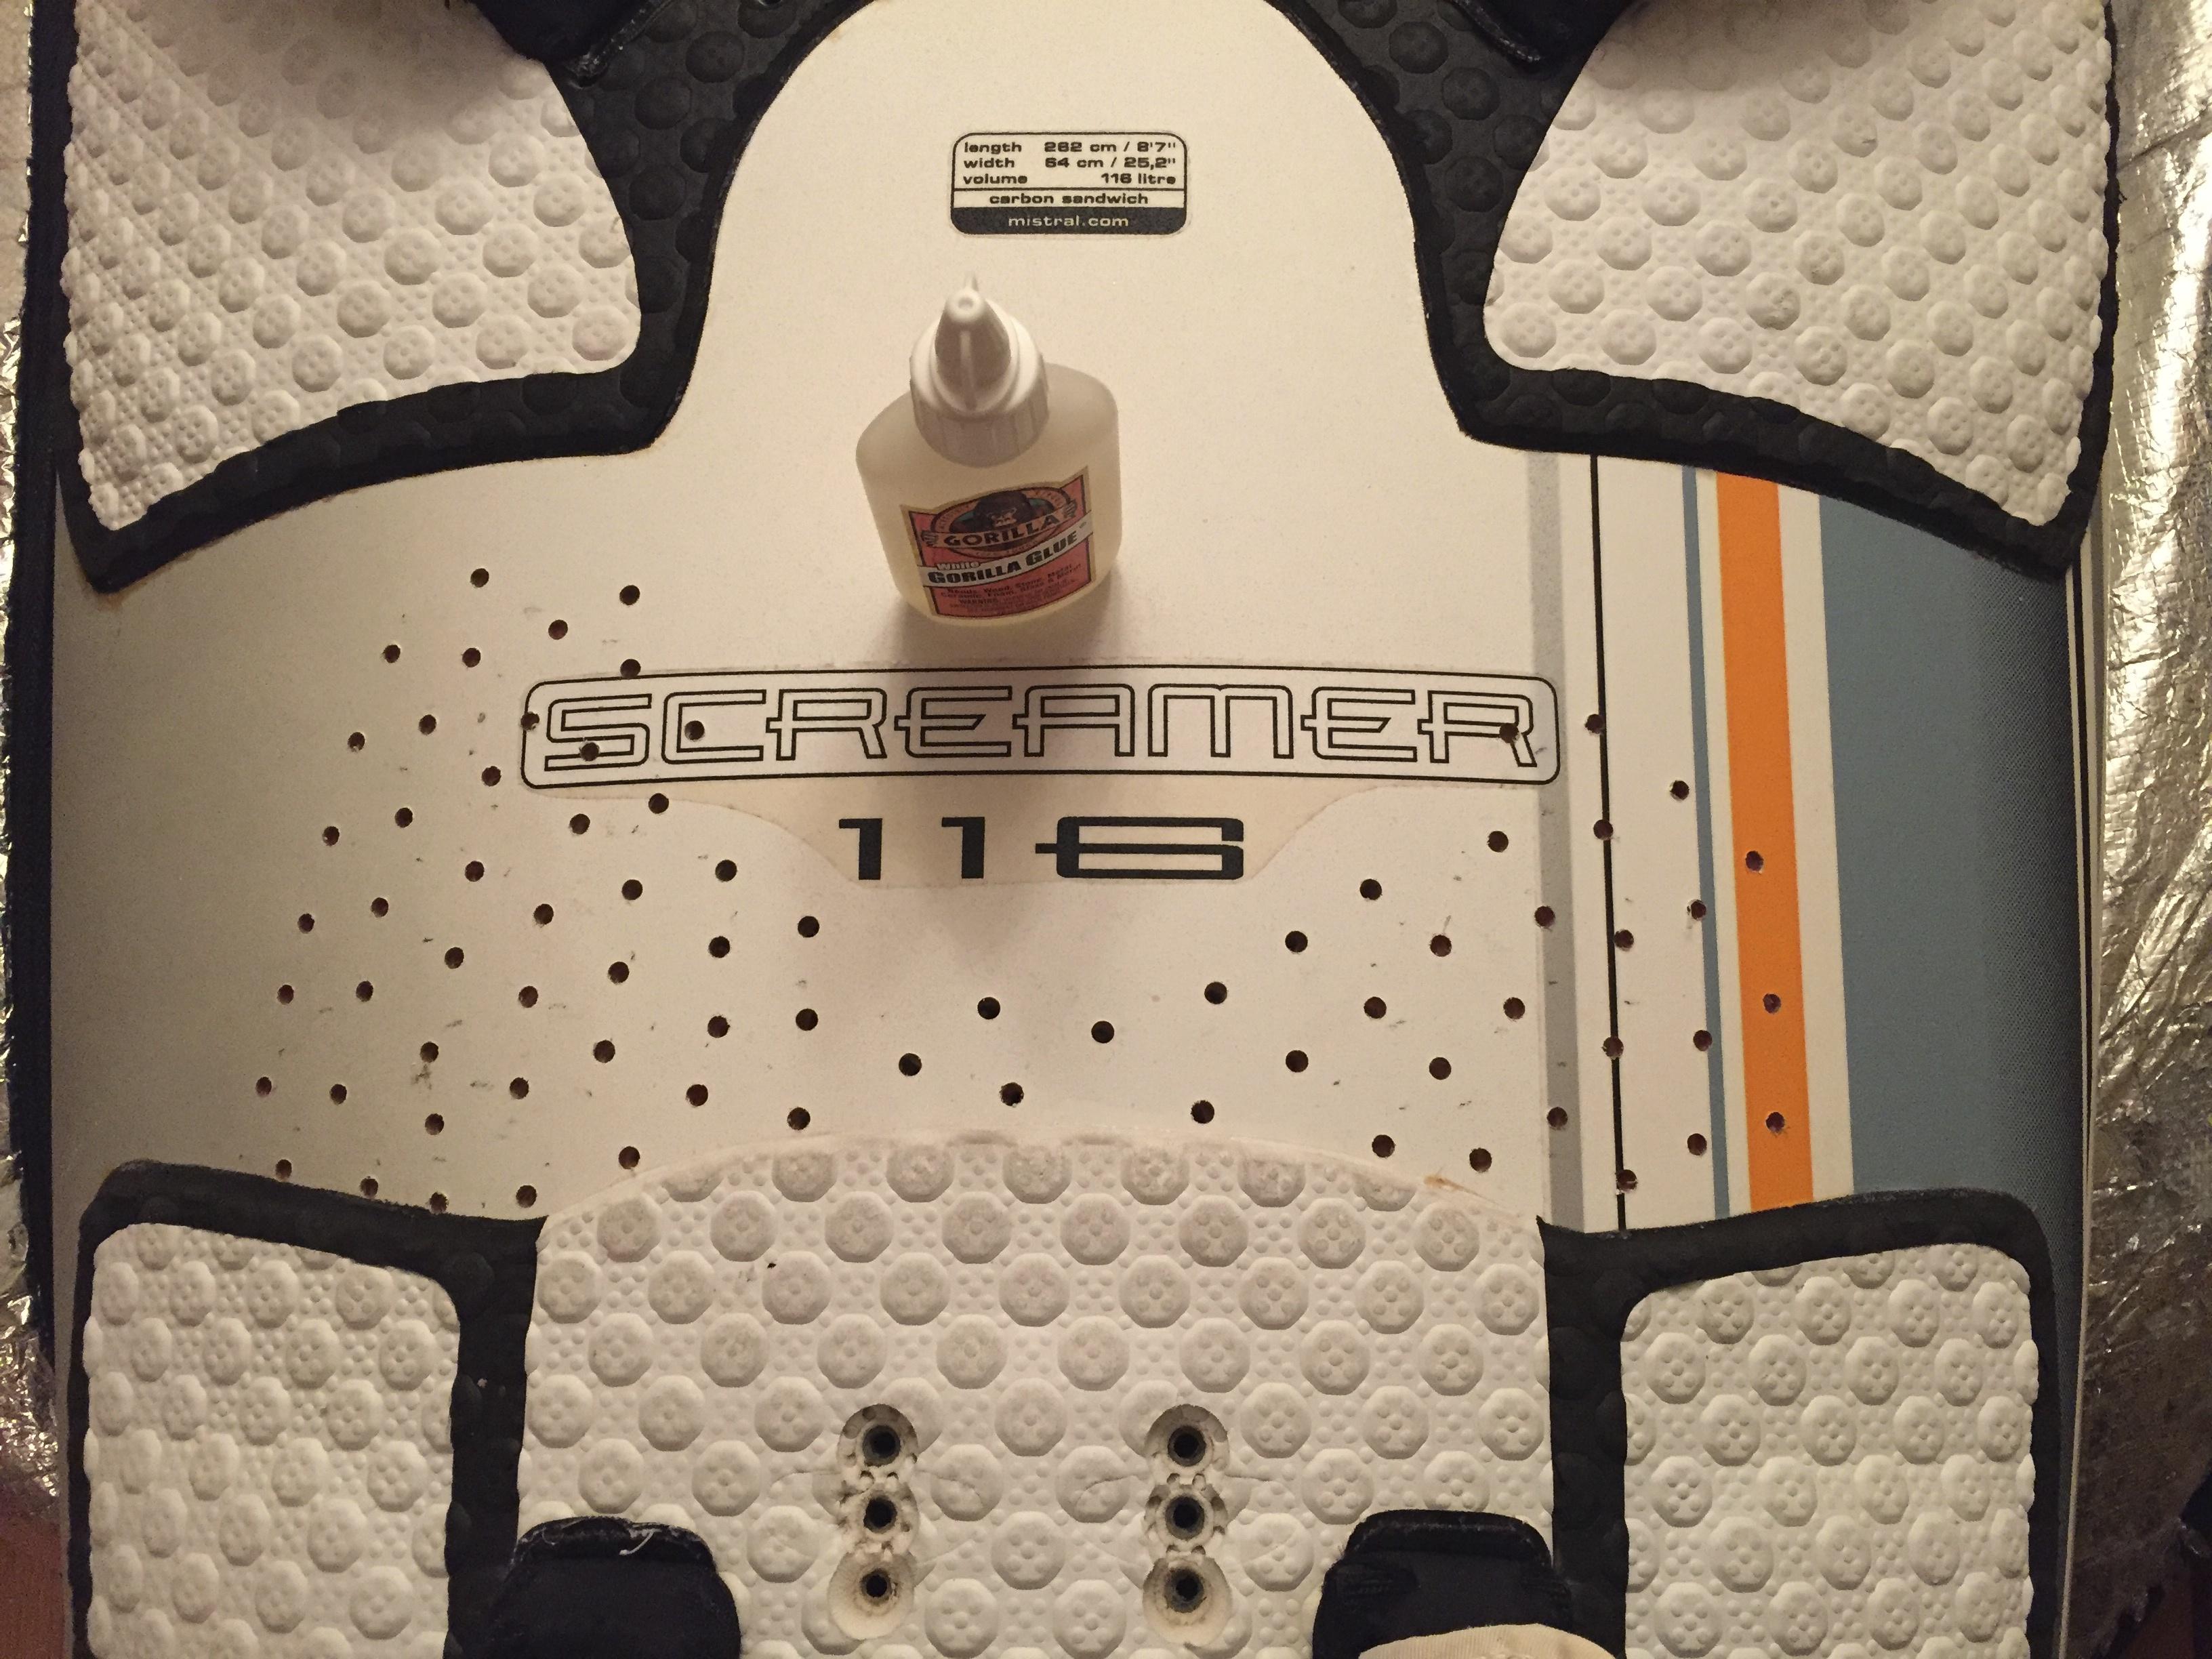
I drilled holes through the skin of the board to just past the periphery of where the deck felt squishy. One exception is on the port/left side just under the back deck pad. The board was a little squishy on the edge of that pad. That was going to be messy so I am hopeful the glue was able to expand in that direction.
I was initially concerned that the glue may expand too much (be uncontrolable) and bubble the skin of the board. That did not happen luckily as the deck was a sandwich of glass, carbon, and wood (as best I can tell) in this area and had enough strength itself.
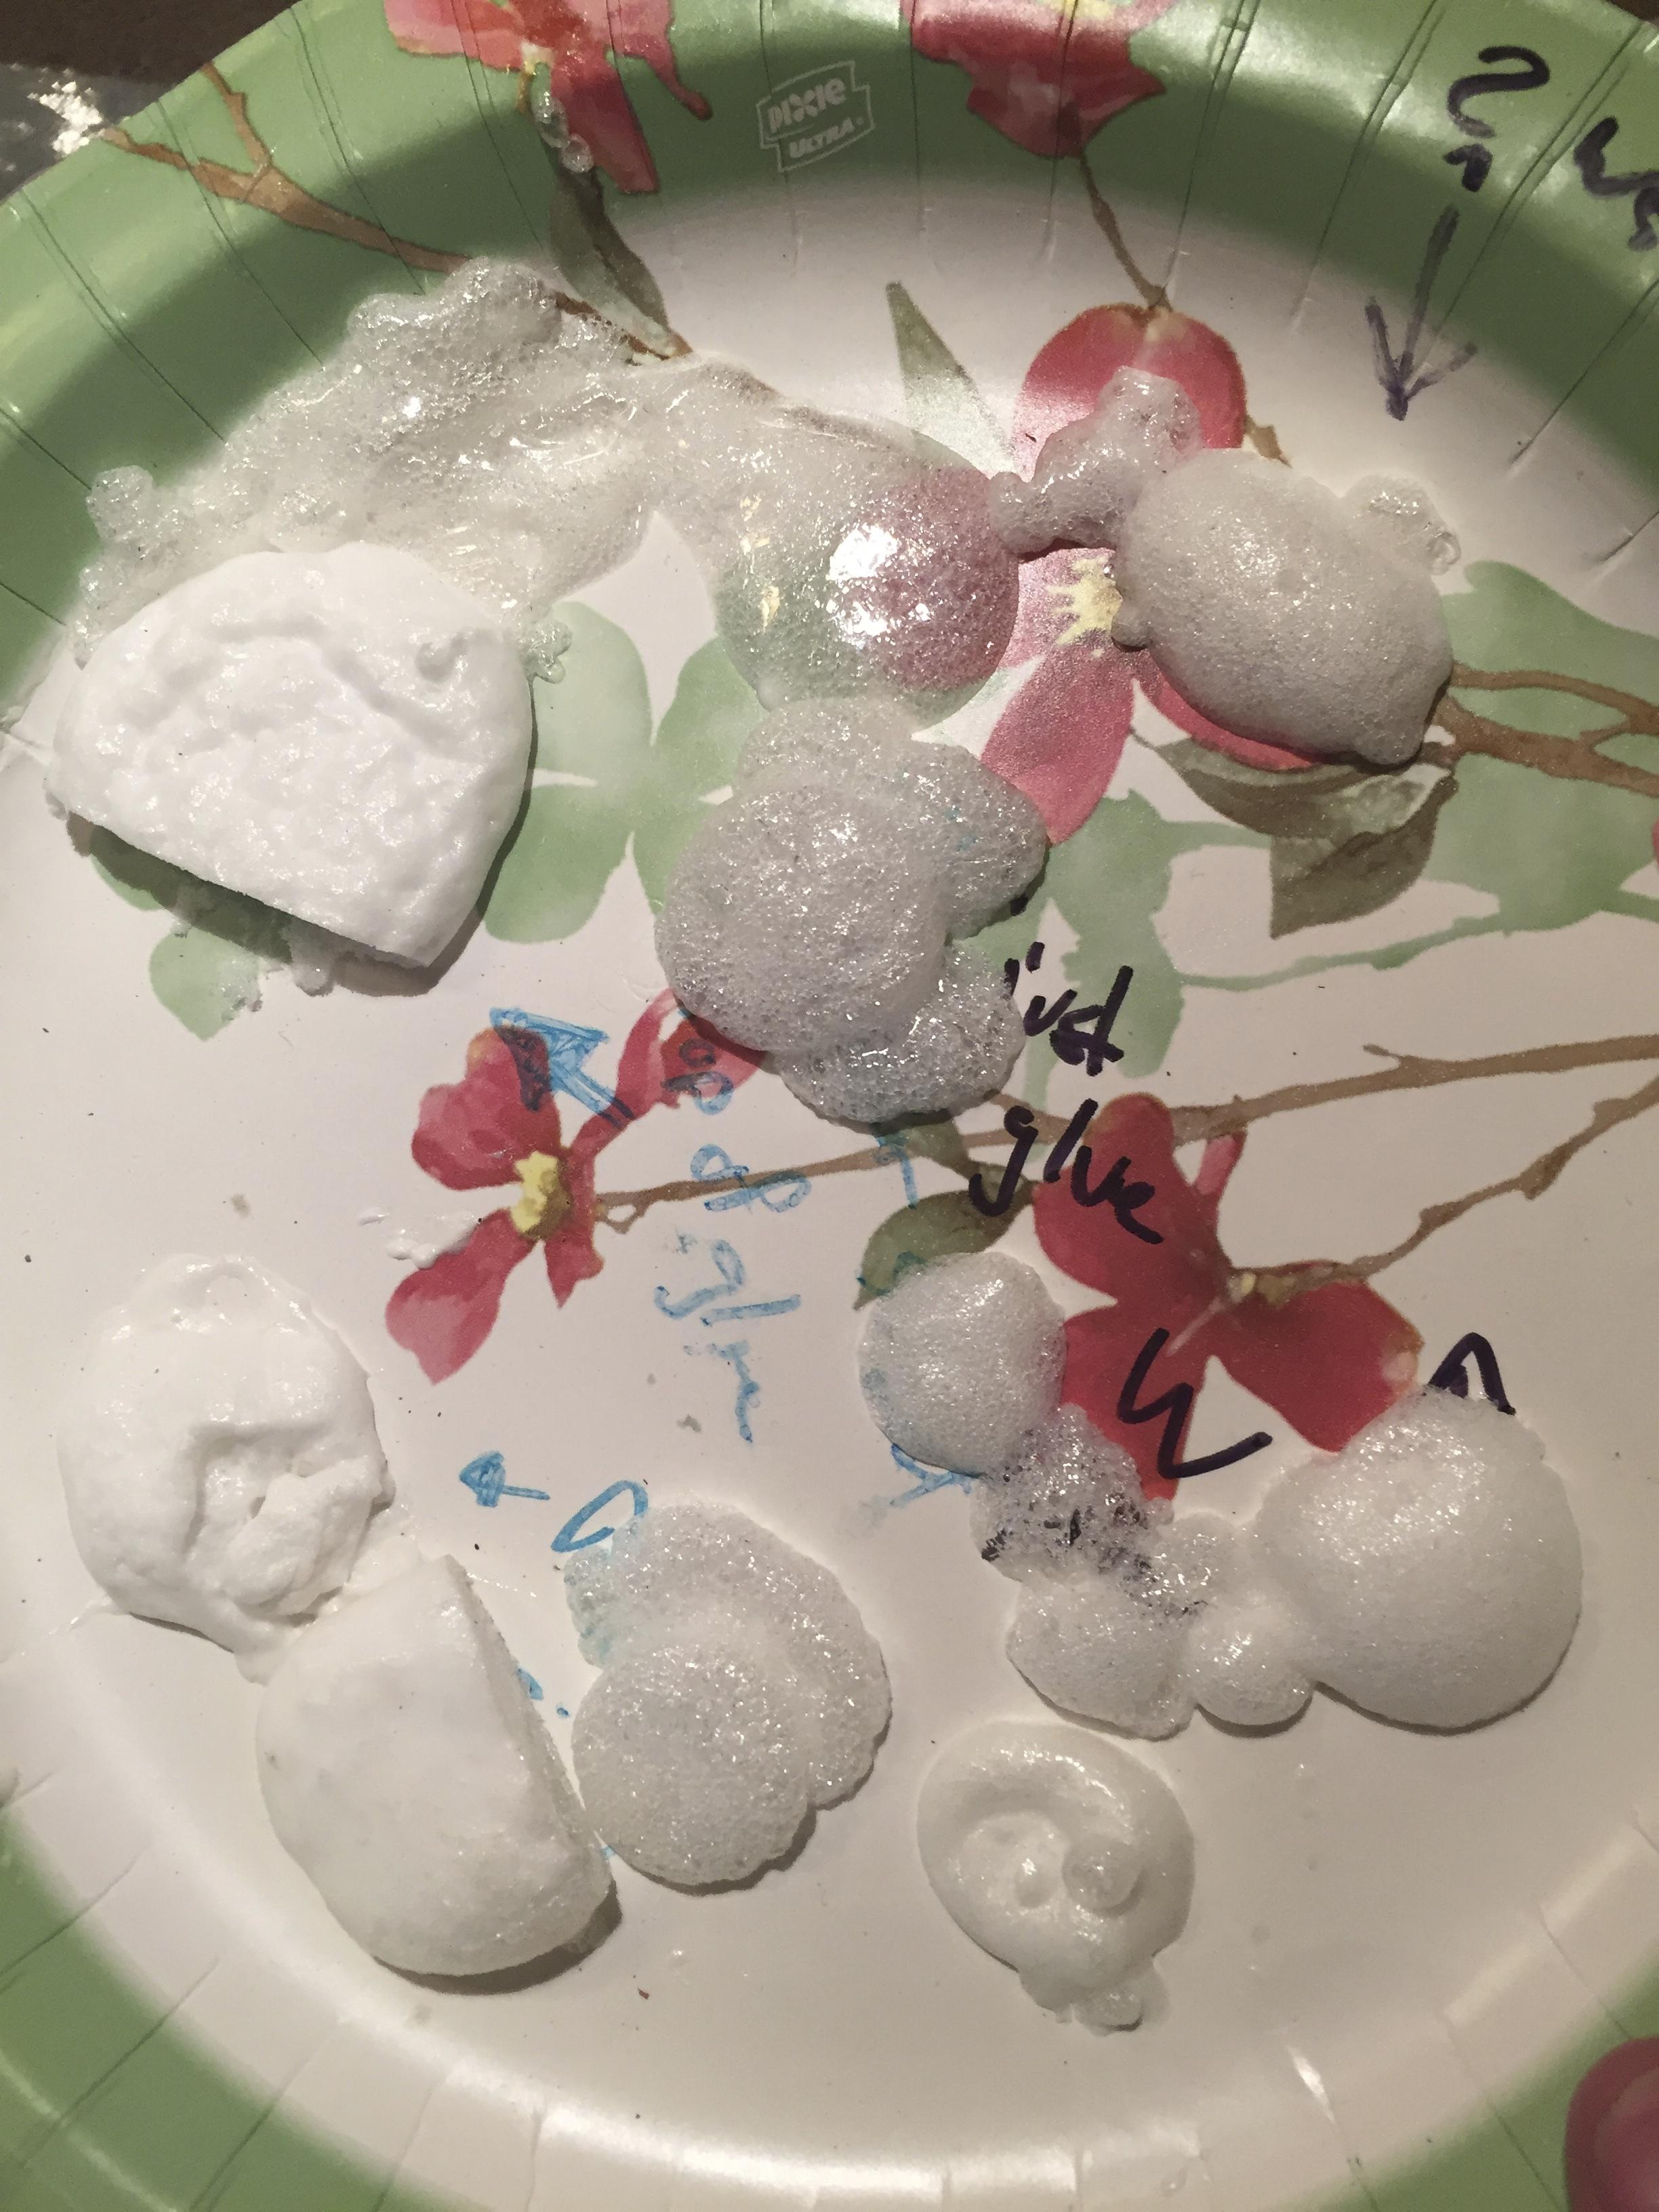
So here is a pic of my experimenting with the Gorilla Glue in an effort to understand what it may do when the water was added. I found a good video on Youtube about controlling the cure and hardness of Gorilla Glue with vinegar and baking soda, but ended up just using water.
One of the concerns raised from the video was that the bubbles would not be uniform and would affect the strength of the structure of the foam. So below you will see plain glue with no water, glue with drips of water mixed in ahead of time (the very white blobs), glue sprayed with water from a spray bottle on the top only and then glue put on top of sprayed water, and then sprayed again. They all did different things. The most uniform was with the water mixed in, but it was too squishy and didn’t keep its shape. The one I ended up liking best was a couple sprays of water directly on top (upper right corner of the paper plate, with black arrow). Somewhat uniform bubbling, and hardened fairly solidly with some flex still.
I also did an experiment where I drilled holes in a paper plate after putting the glue on another plate below that. I sprayed the holes on top mimic what might happen inside the board.
-
May 29, 2016 at 12:07 pm #3477
 windydougKeymaster
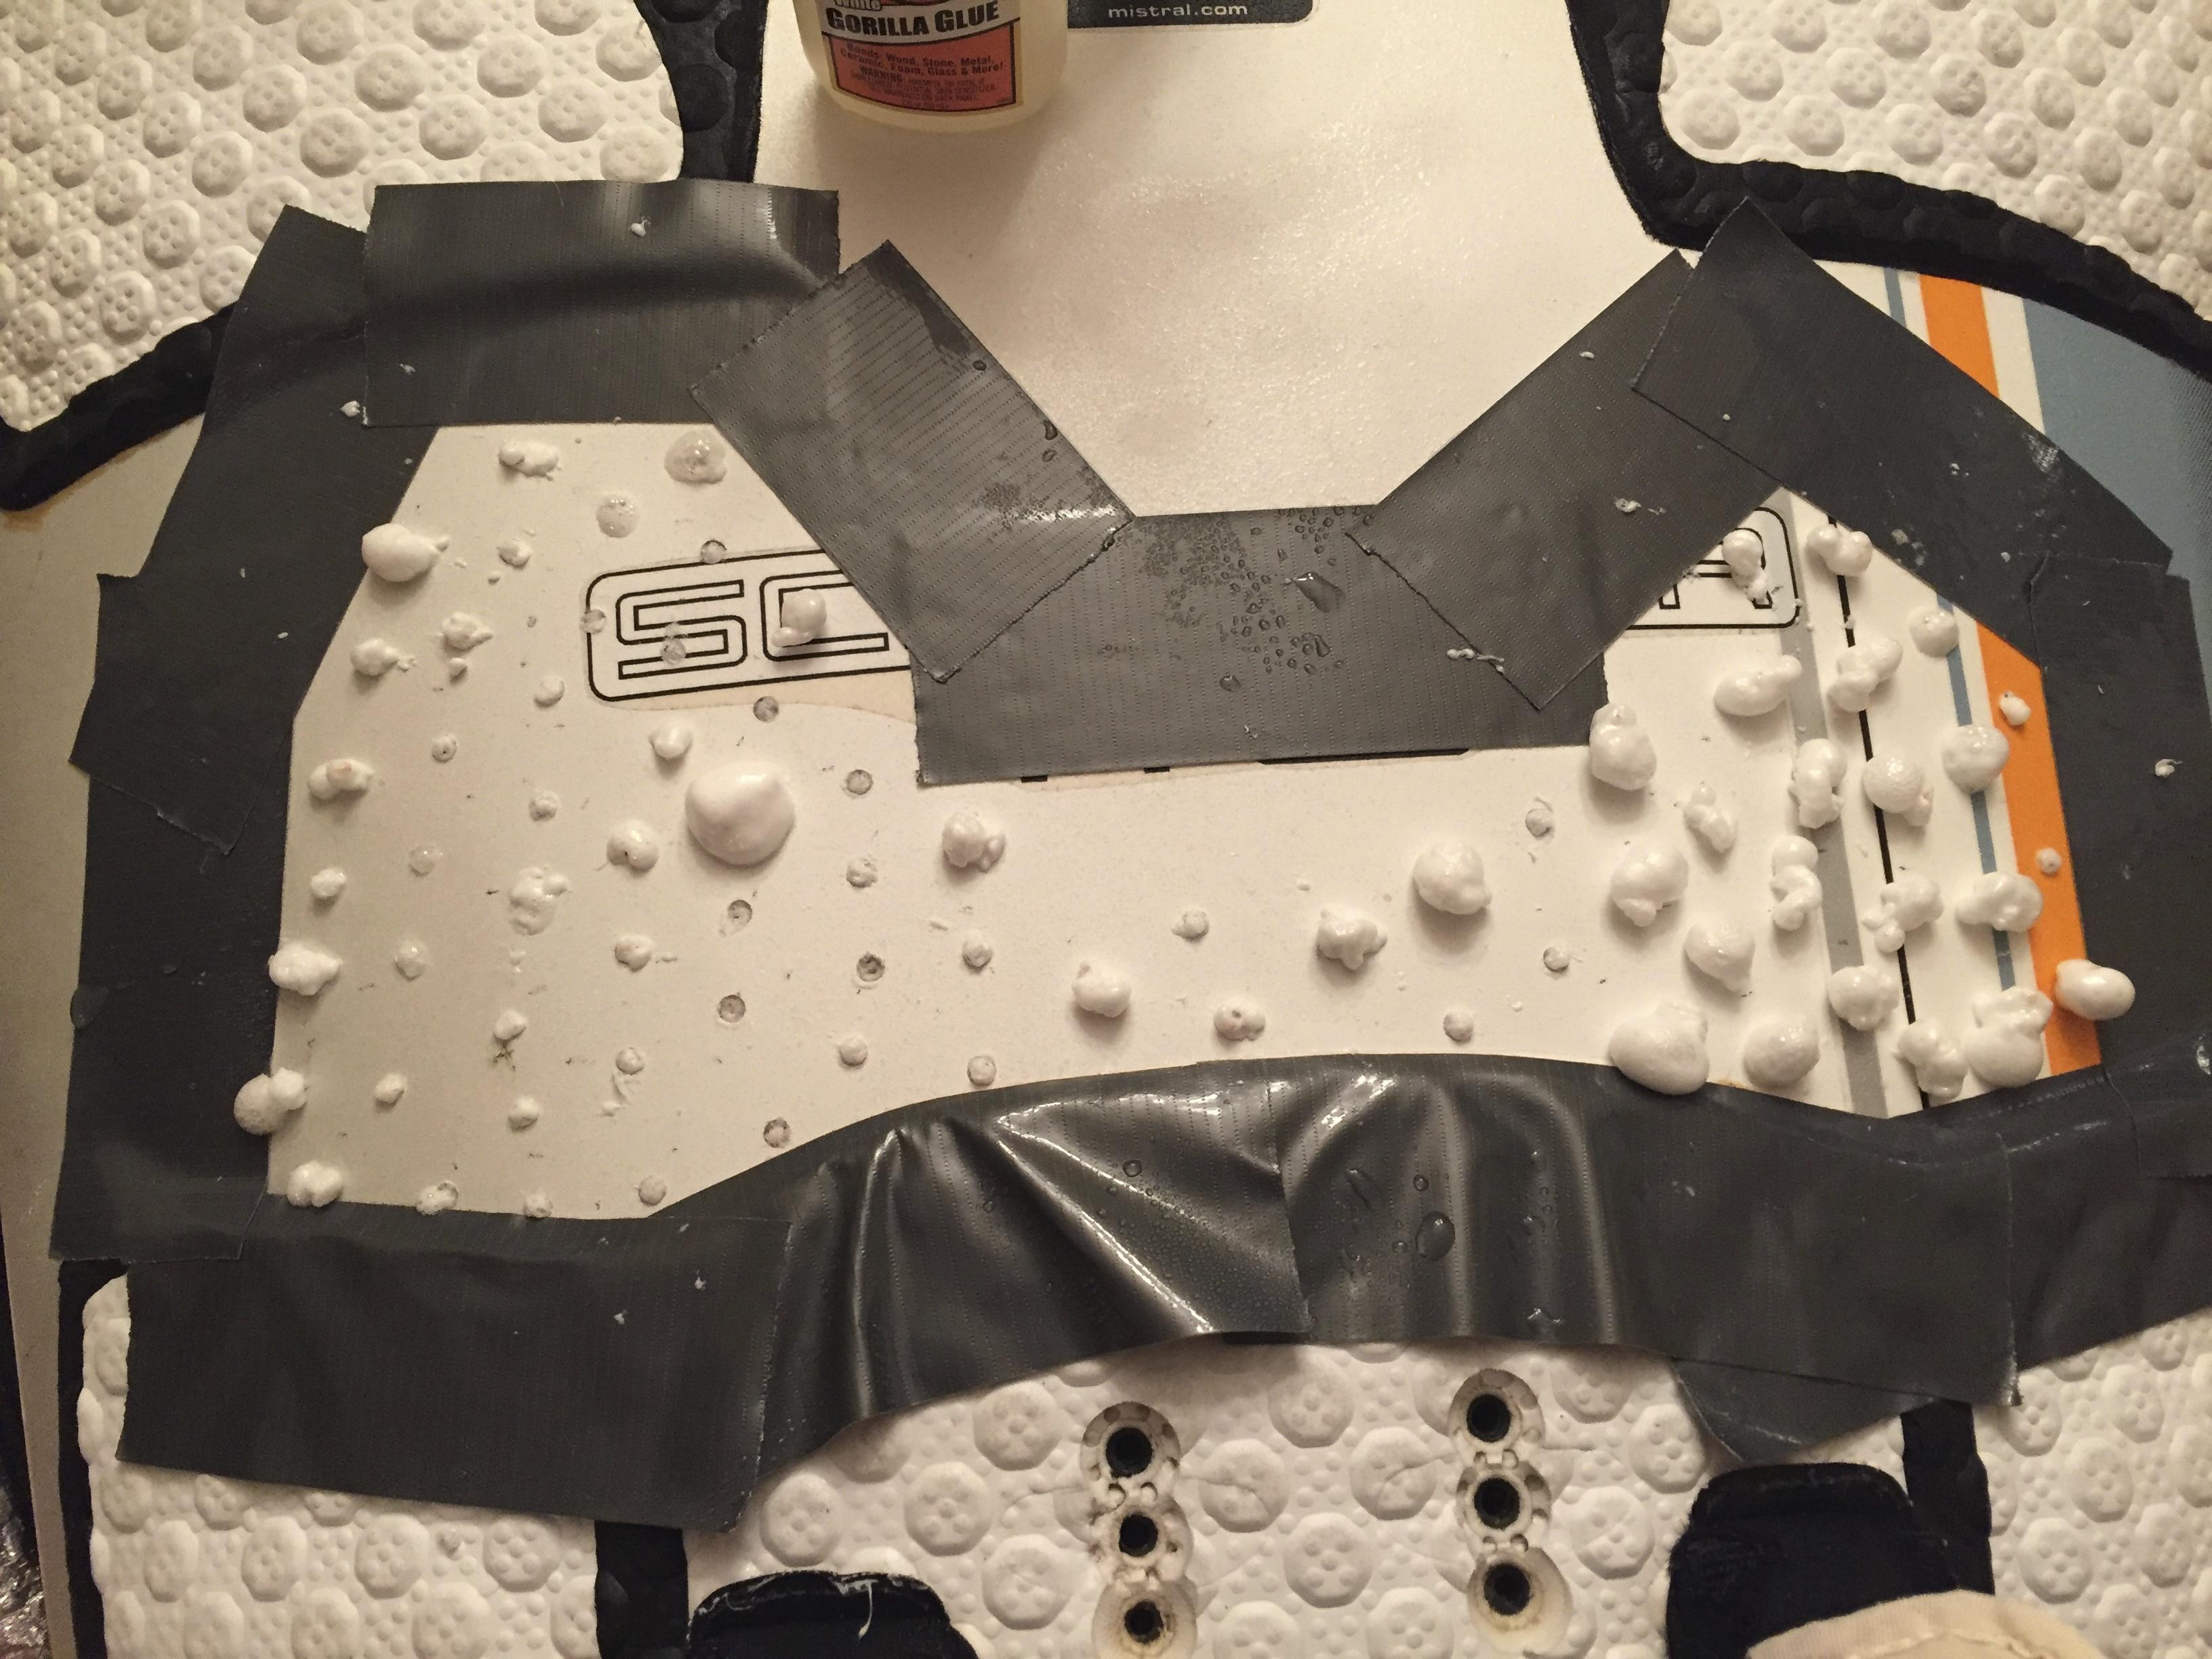
I taped off the area surrounding the repair and away I went. The below pic is of what the glue looked like after expanding. I ended up using the spray bottle and hitting it from a bunch of different angles. Some holes didn’t bubble much. I am going to make a bunch of assumptions about what happened or didn’t happen in the board.
The holes that didn’t bubble much may not have gotten enough water, or perhaps they didn’t have enough glue. Each hole ended up filling/curing to the board deck level though. I may have used too much glue in the holes that bubbled a lot. What matters most to me though is that the deck was/is firm and I did not detect any places where the deck shape had been deformed or the skin released from un-dented areas perhaps caused by the expansion force of the glue.
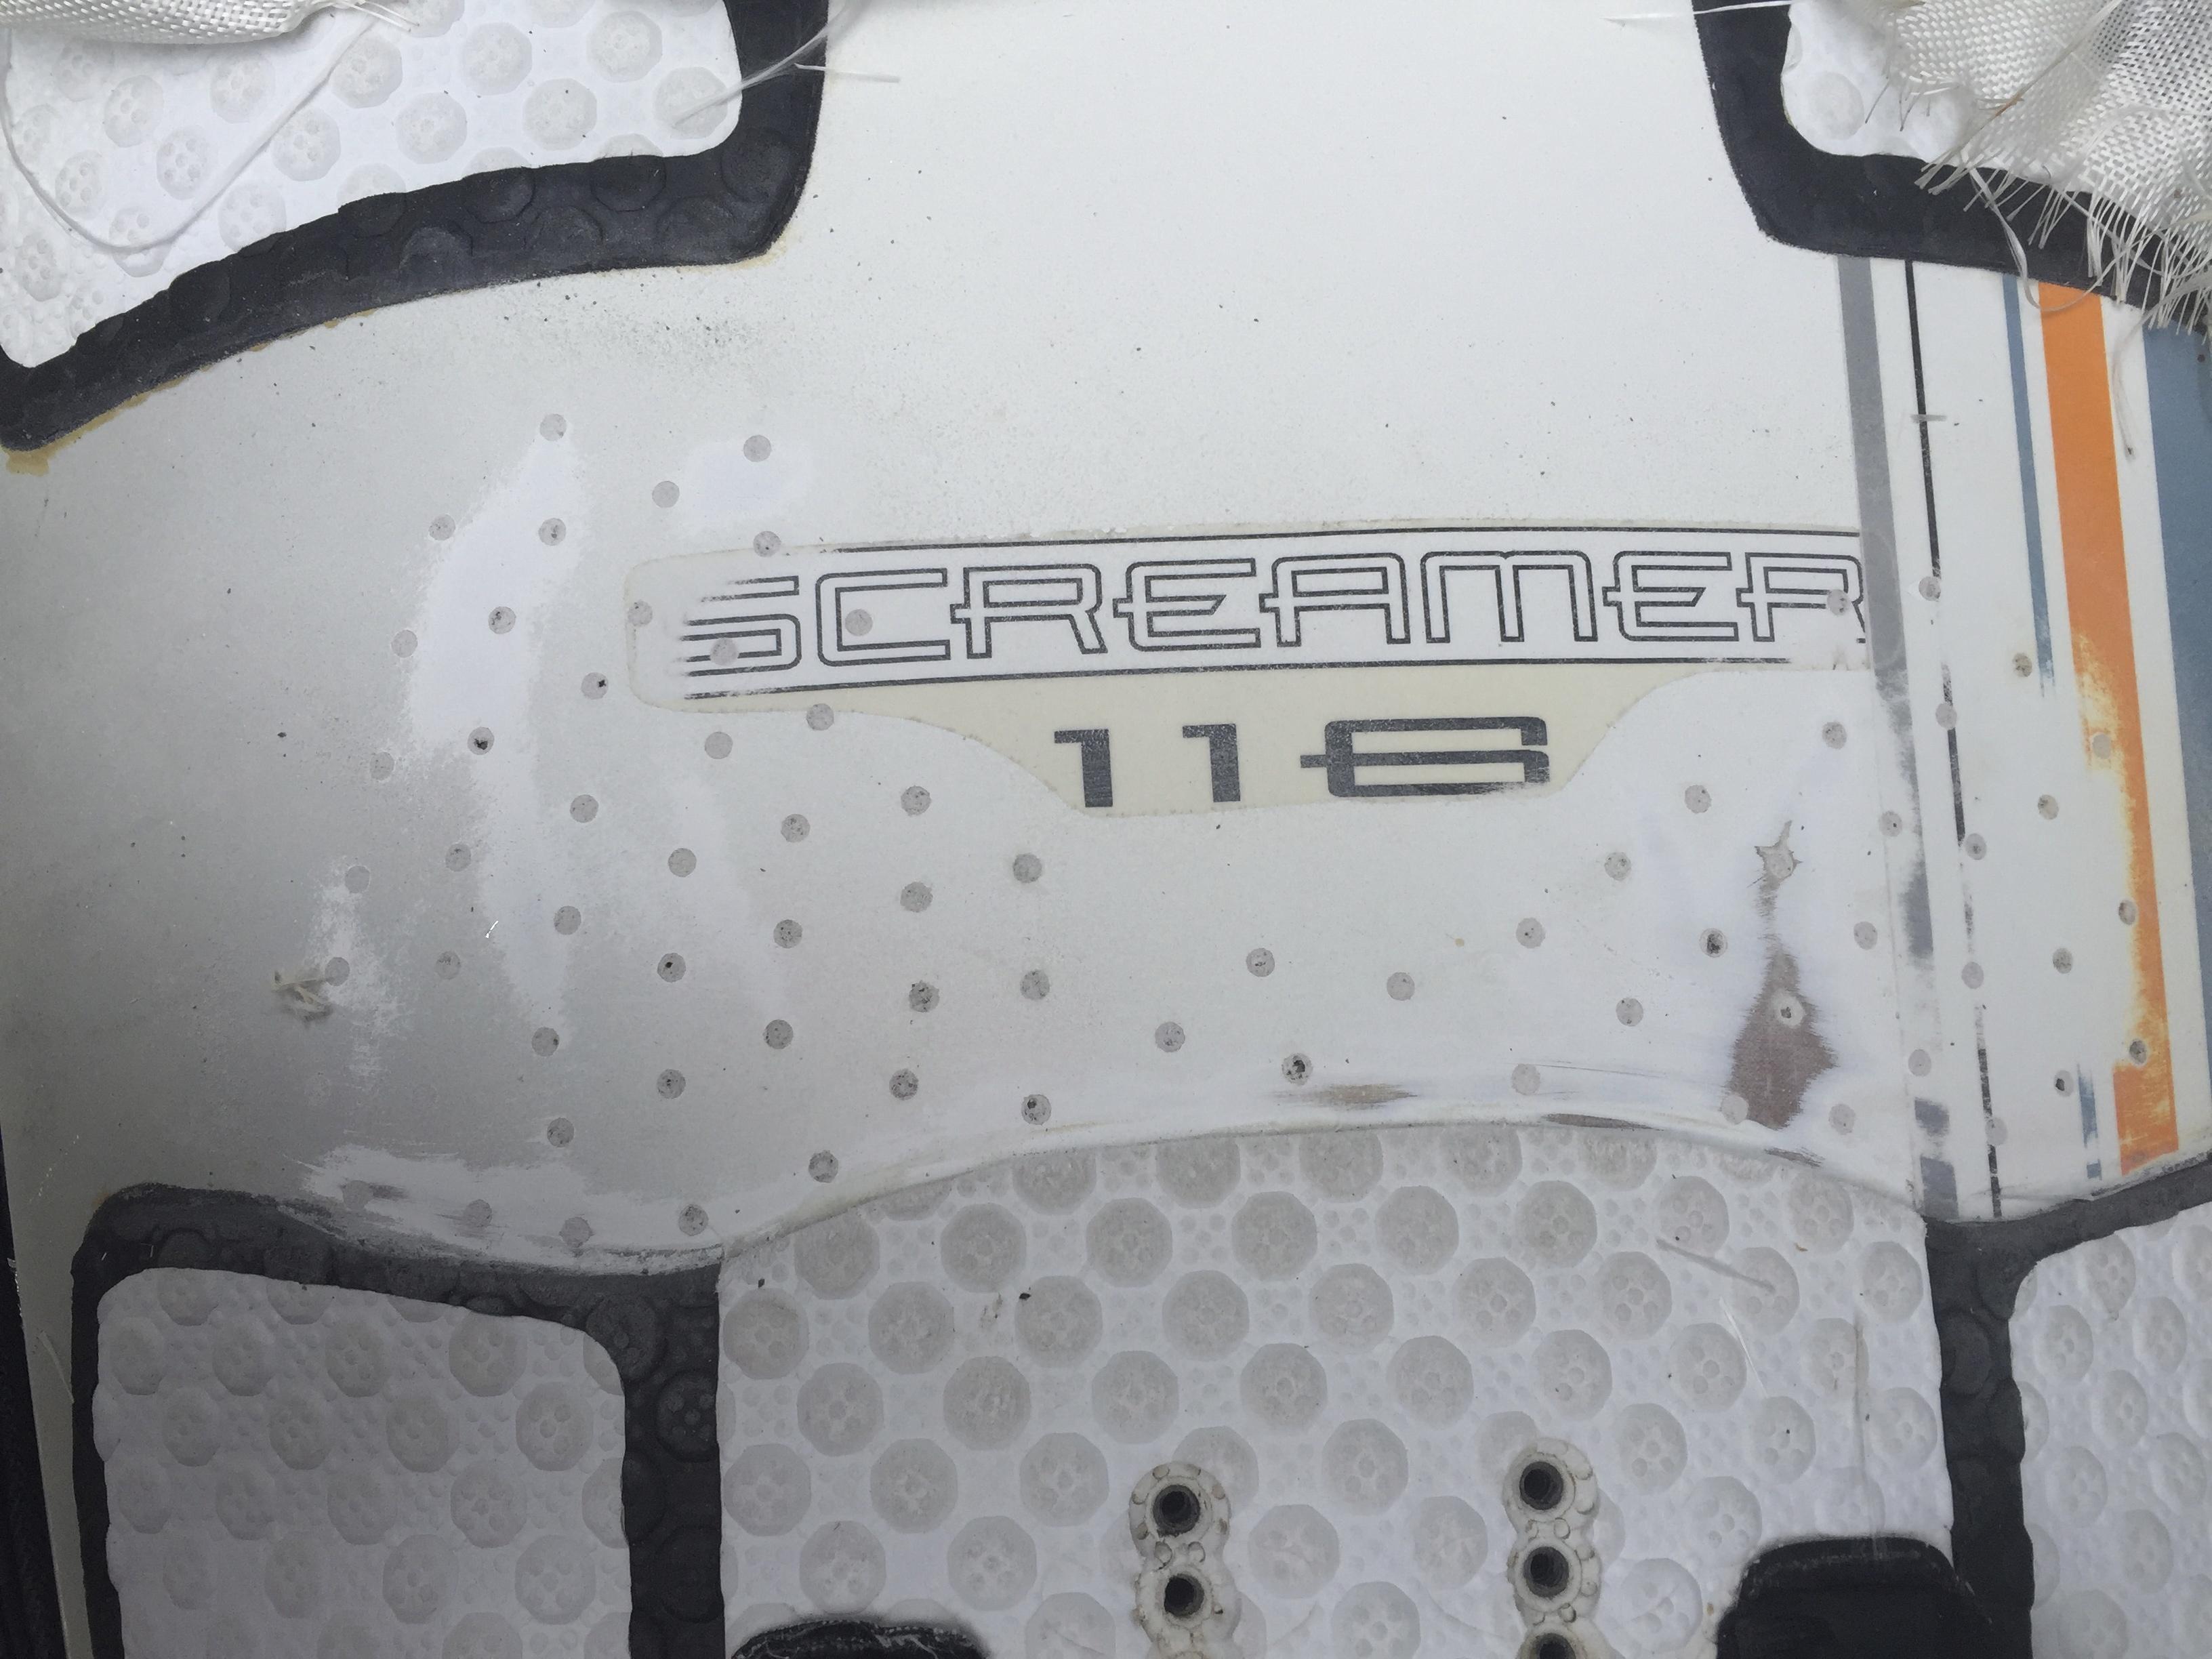
The below pic shows the board during sanding prep for getting a layer of fiberglass cloth. When the prep was complete I used Acetone to clean the area before glassing. I ended up digging out each hole an 1/8th of an inch and filling them with marine tex.
-
May 29, 2016 at 12:20 pm #3479
 windydougKeymaster
So for this stage of the repair, I leaned on what I learned in discussion with Gary W. who does some SUP repairs on the side. I ended up using Marine Tex and fiberglass loth to finish off the repair.
Any kid of research on the web among board repair purists would say that these techniques are unproven at best. Another layer of glass at this spot may or may not change the flex of the board. There is no guarantee that any kind of bond occurred between the gorilla glue and the rest of the inside of the board. I’m hopeful.
The below pic is of the holes filled with Marine Tex, and the cloth tacked down with some Marine Tex before I started spreading.
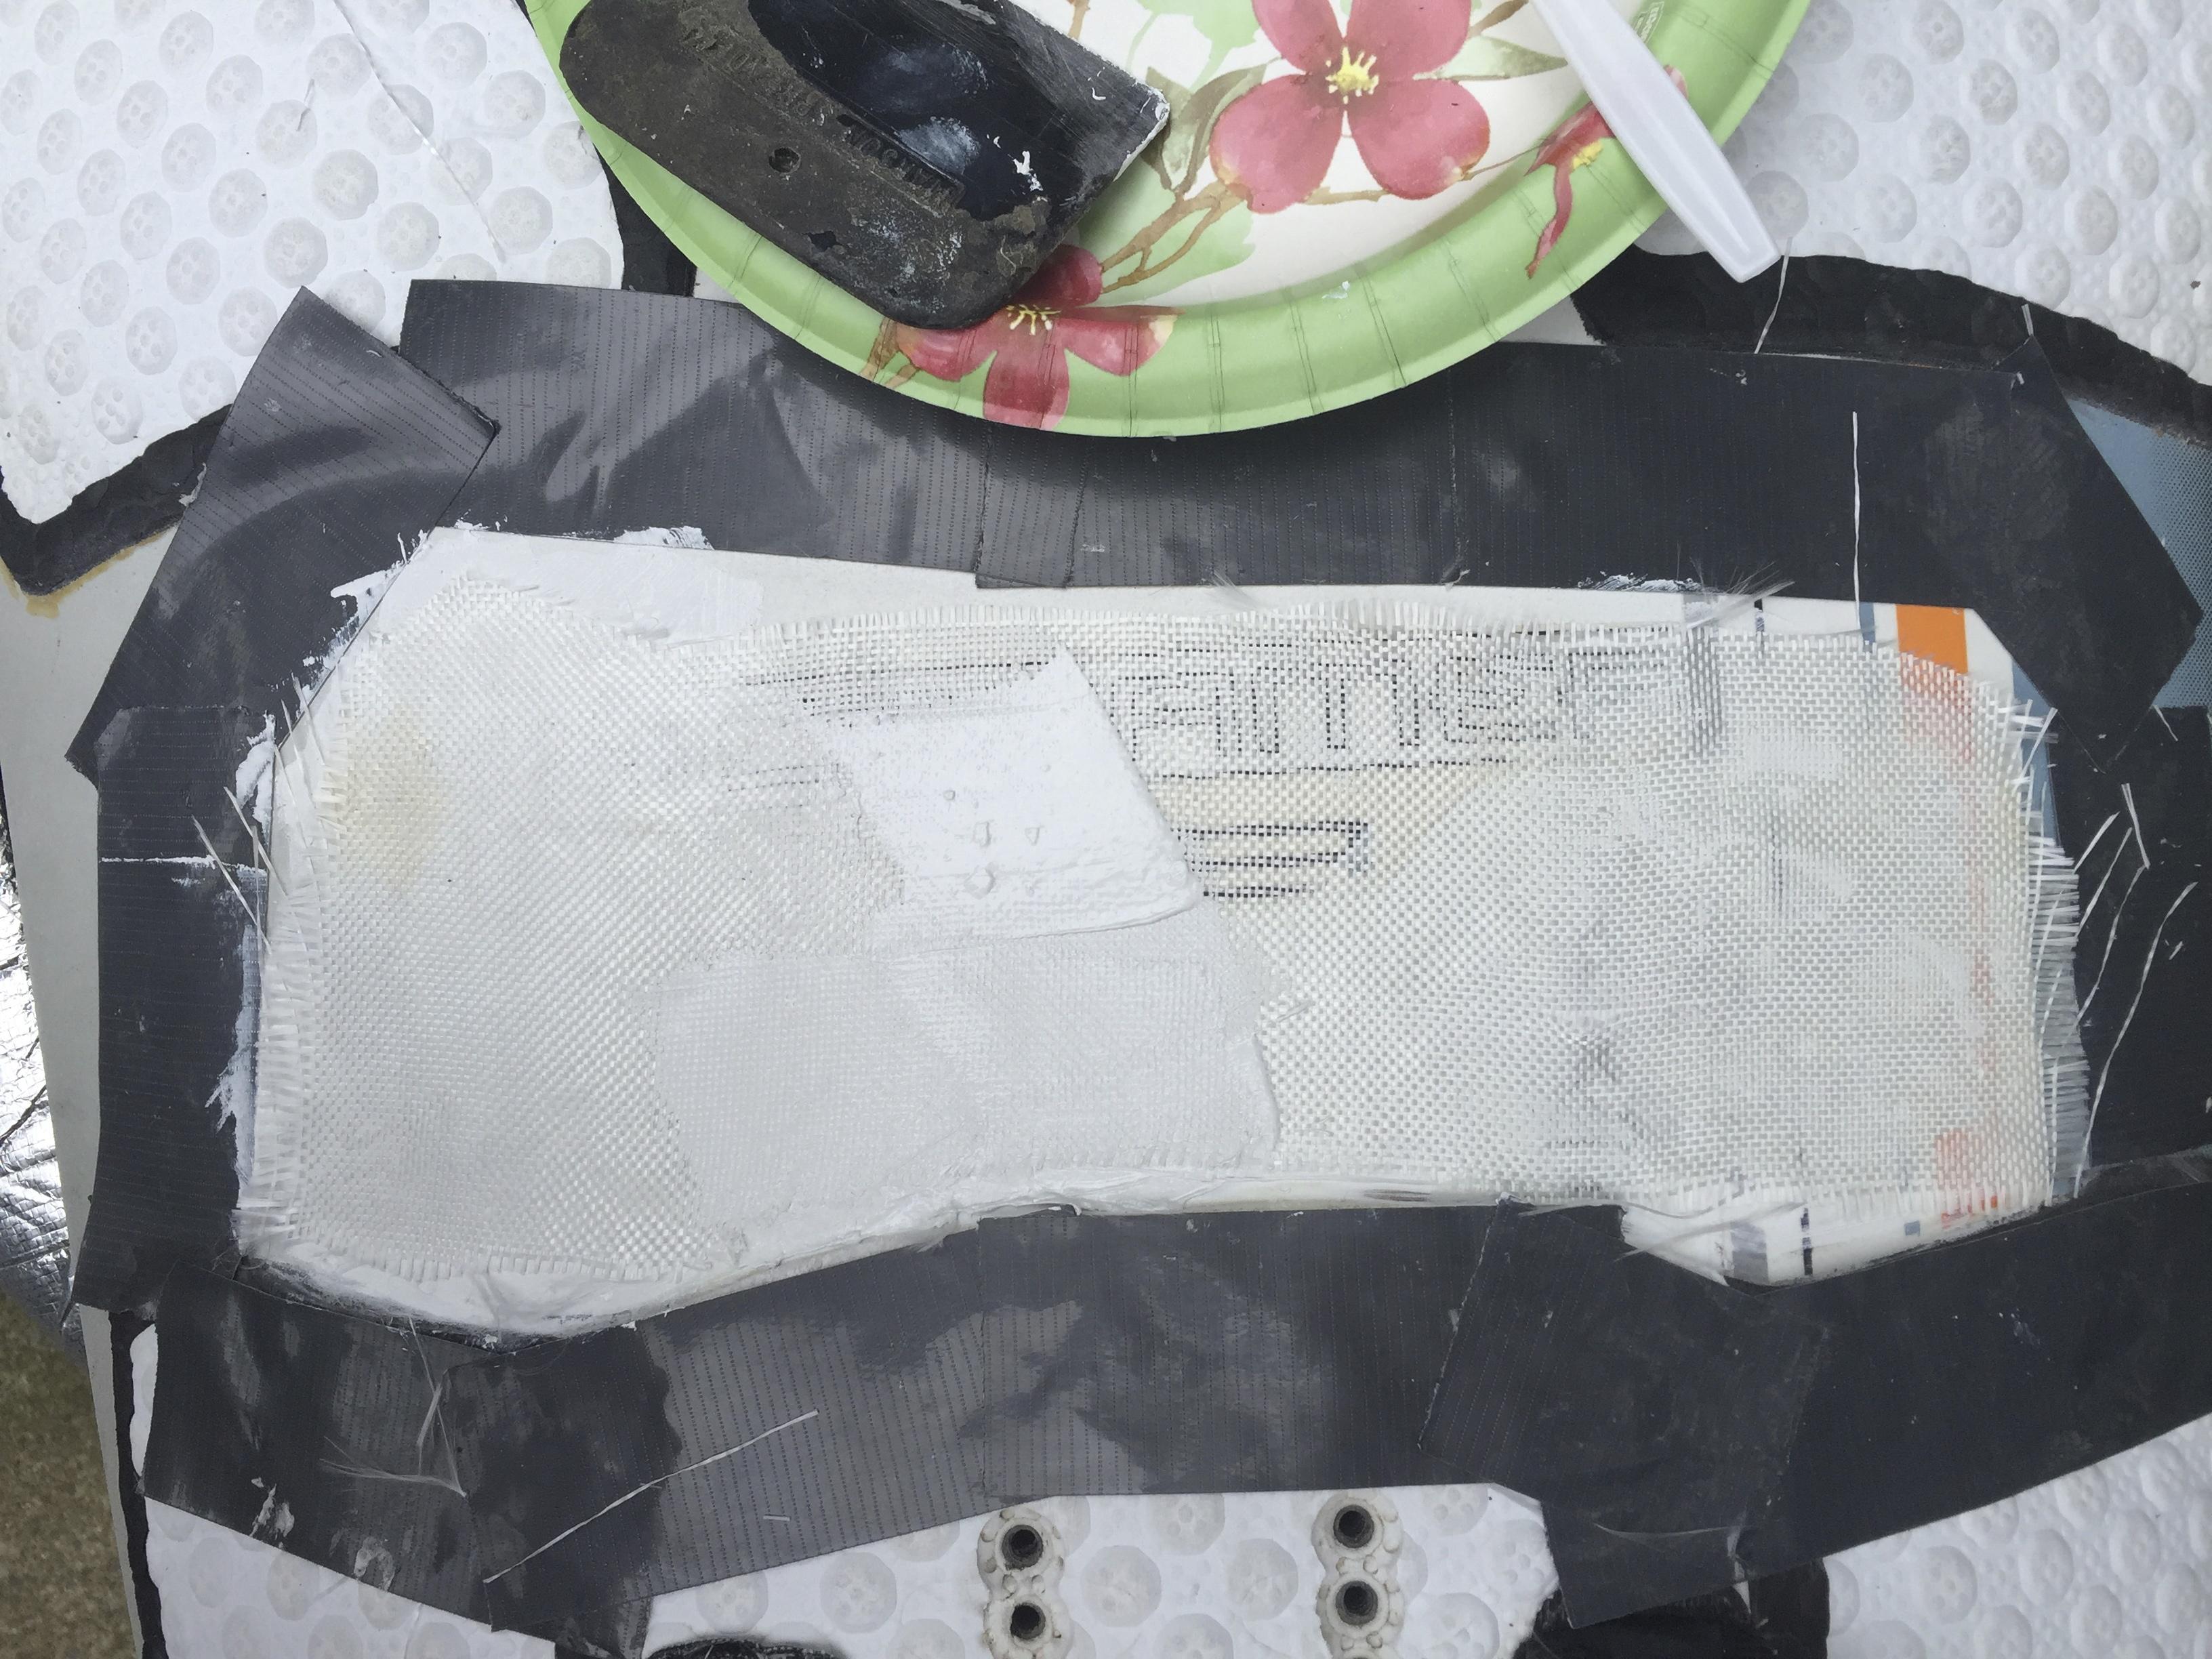
Glassed and curing.
-
May 29, 2016 at 12:29 pm #3481
 windydougKeymaster
The final stage of this repair was mostly superficial and appearance related. Tons of sanding and smoothing resulted in a nice uniform surface where I made the repair.
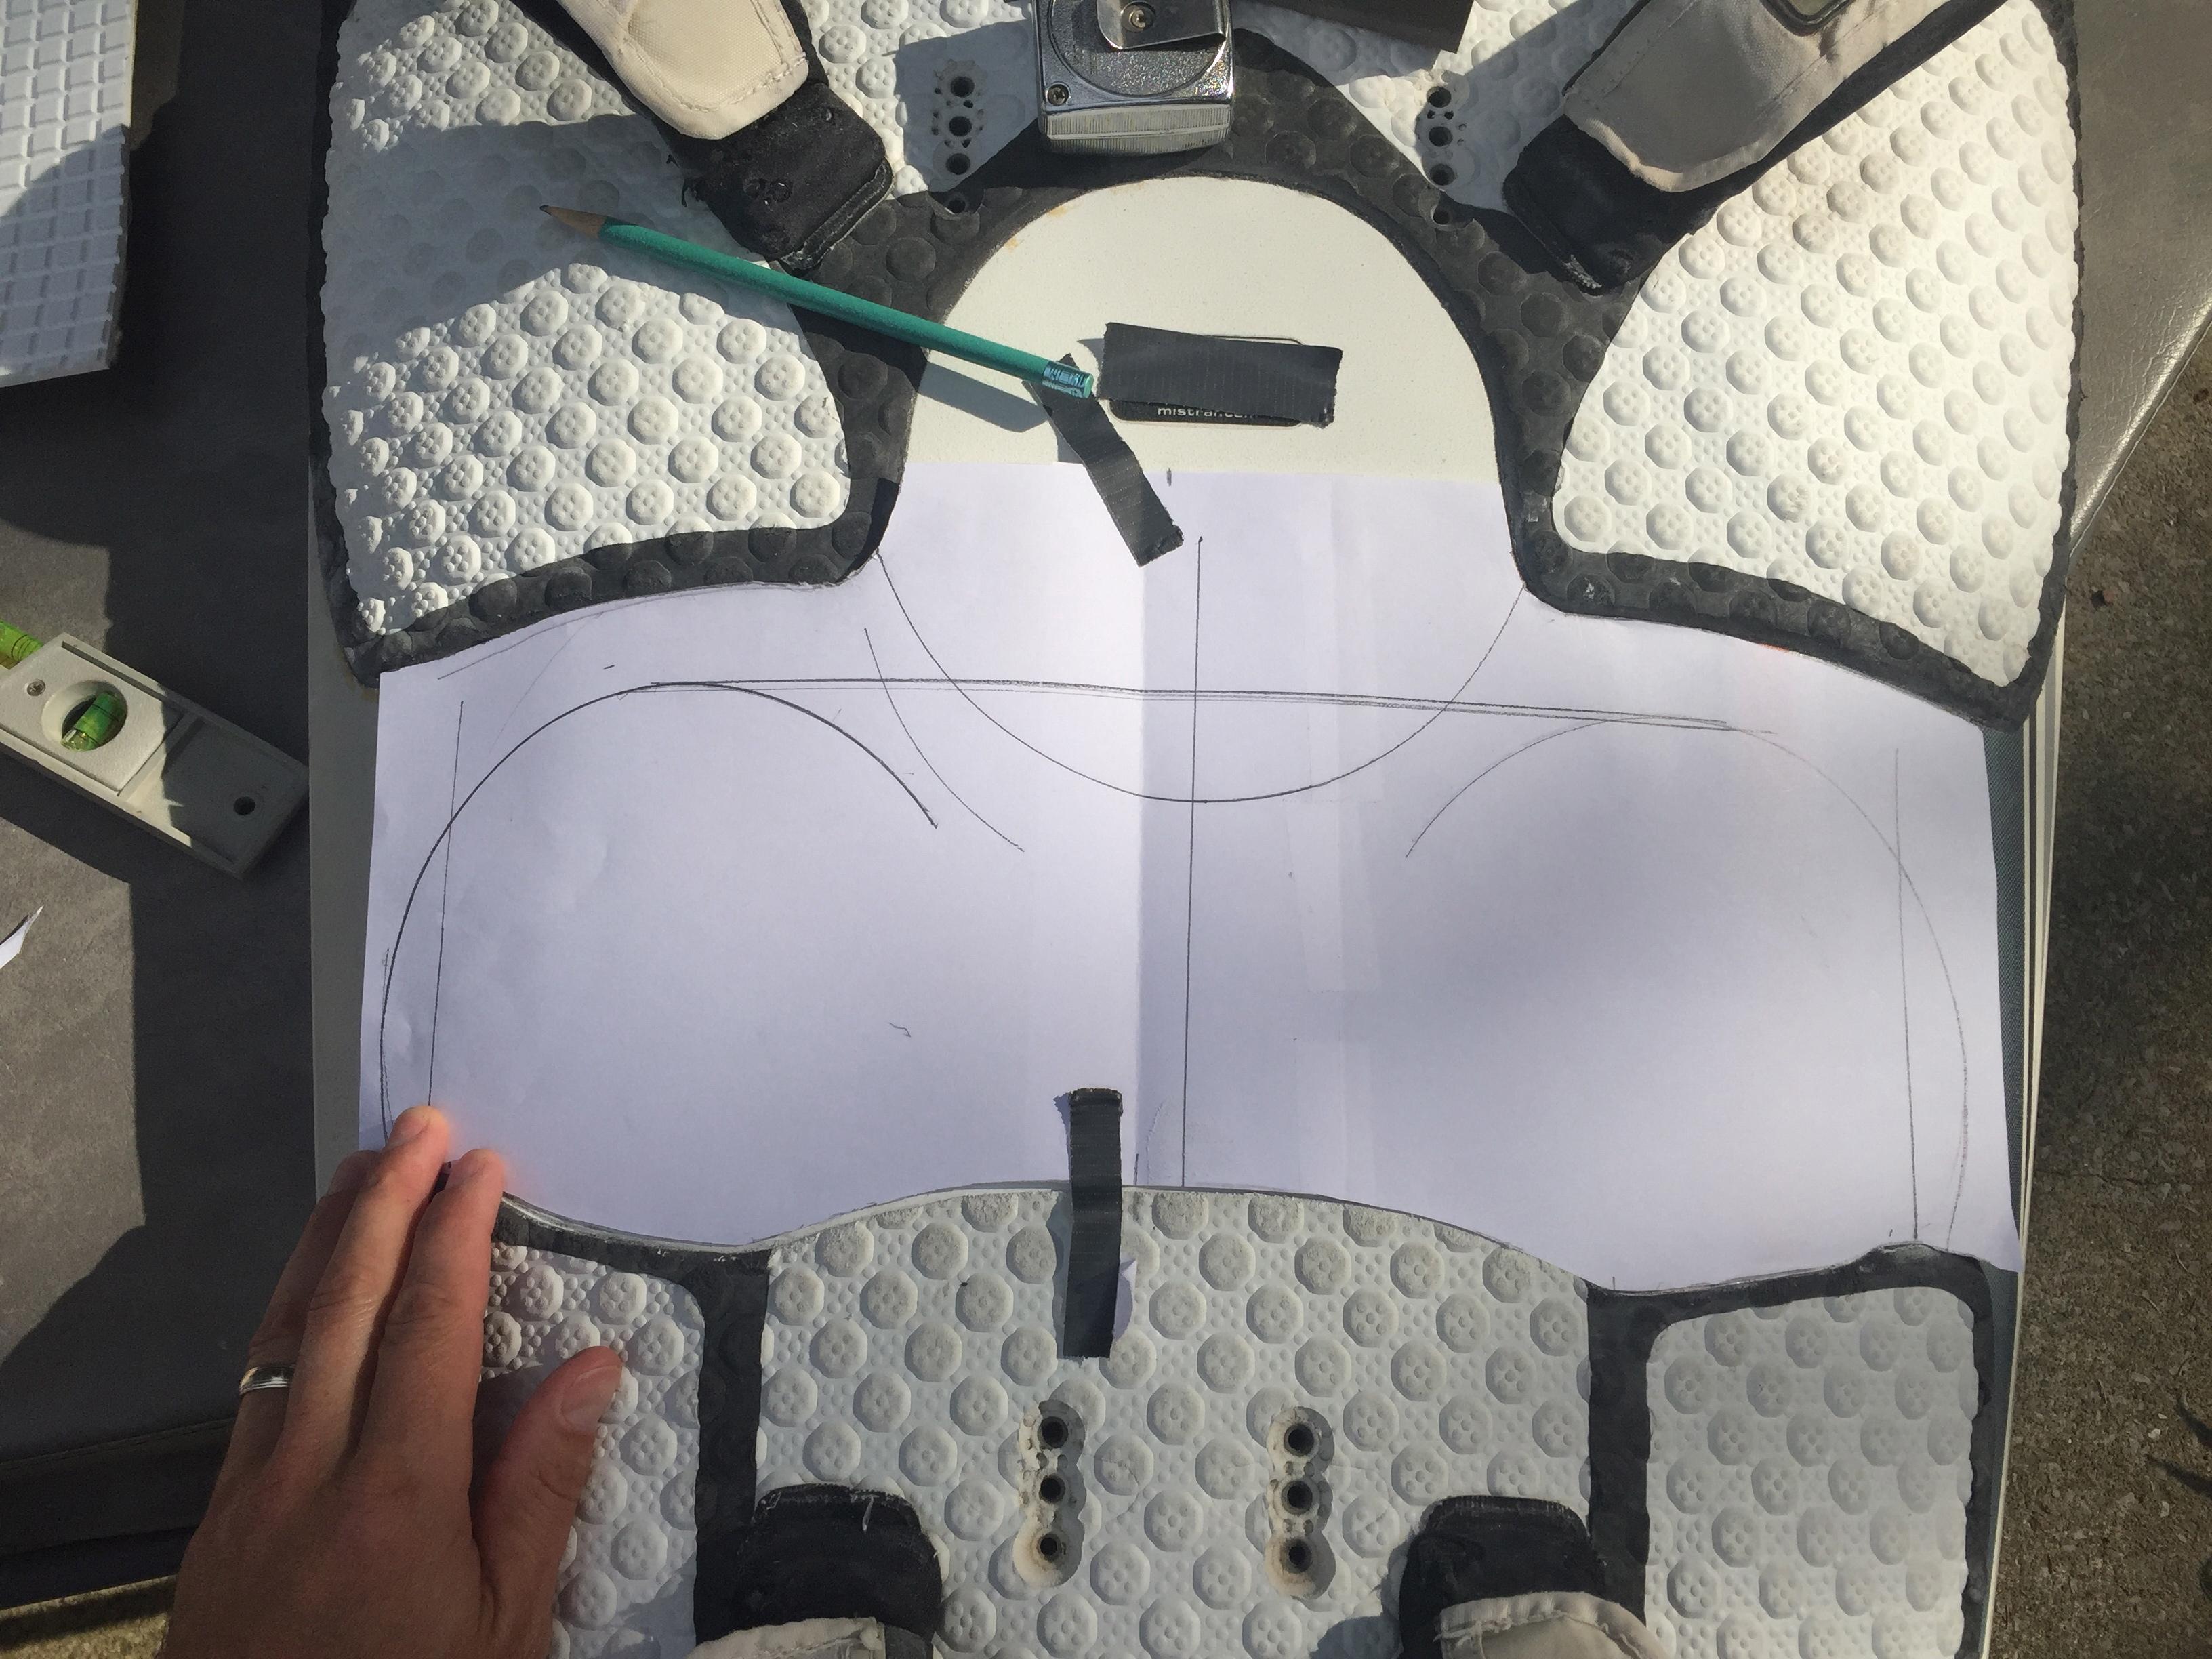
Gary had raised a concern about how I planned to protect the area against the heal dents happening again, and my hopeful answer to that question is by covering the area with EVA deck pad. I bought single density deck pad from NSI. The pad had a 3M sticky backing, so I again used Acetone to be sure the sanded surface was foul free. I was concerned about how the board would look following the repair, so here is me spending too much time designing a stencil for the deck pad:
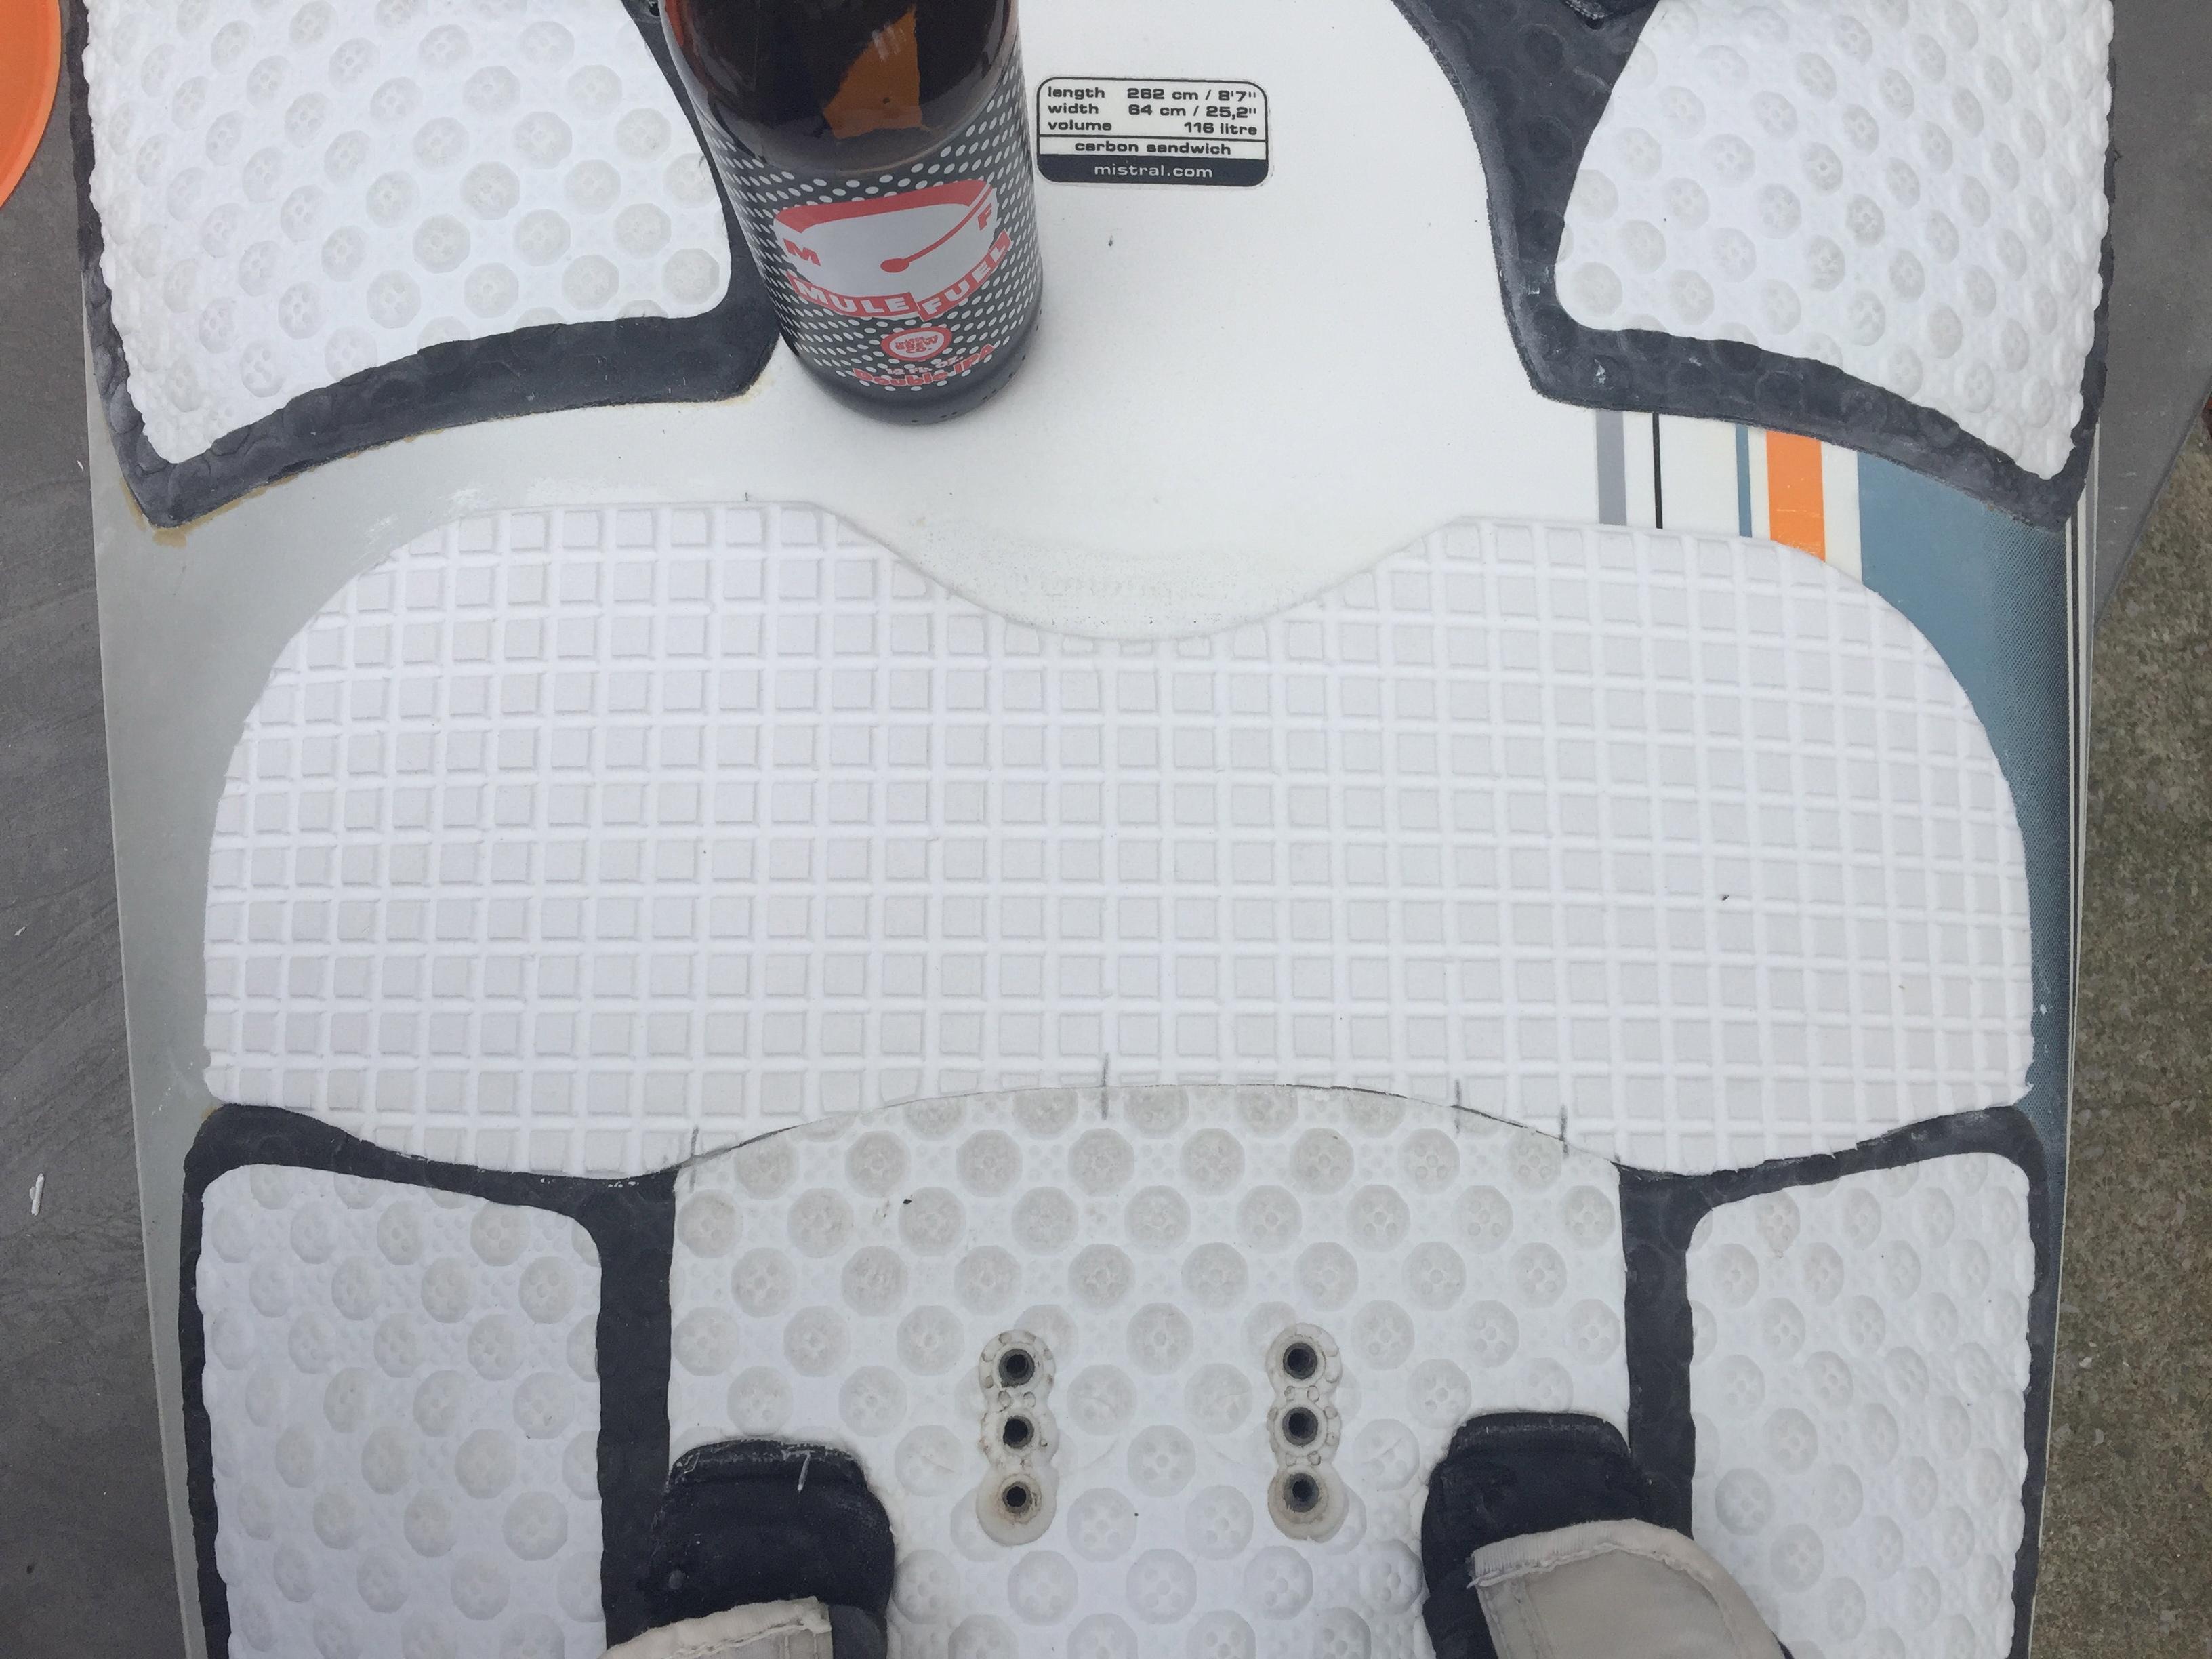
I’d say my labor and attention to detail was worth it though as the repair seems to flow with the pads on the deck. A delicious Lock 32 Brew Mule Fuel Double IPA was necessary as I reviewed my work.
-
October 11, 2016 at 4:17 pm #3879
 windydougKeymaster
Just checking back in on this post.
One season of windsurfing is more or less done, and I have ridden this board 5 times and (saying a prayer) everything still seems to be doing pretty well.
See you on the water!
-
December 10, 2020 at 9:18 am #39451
Anonymous
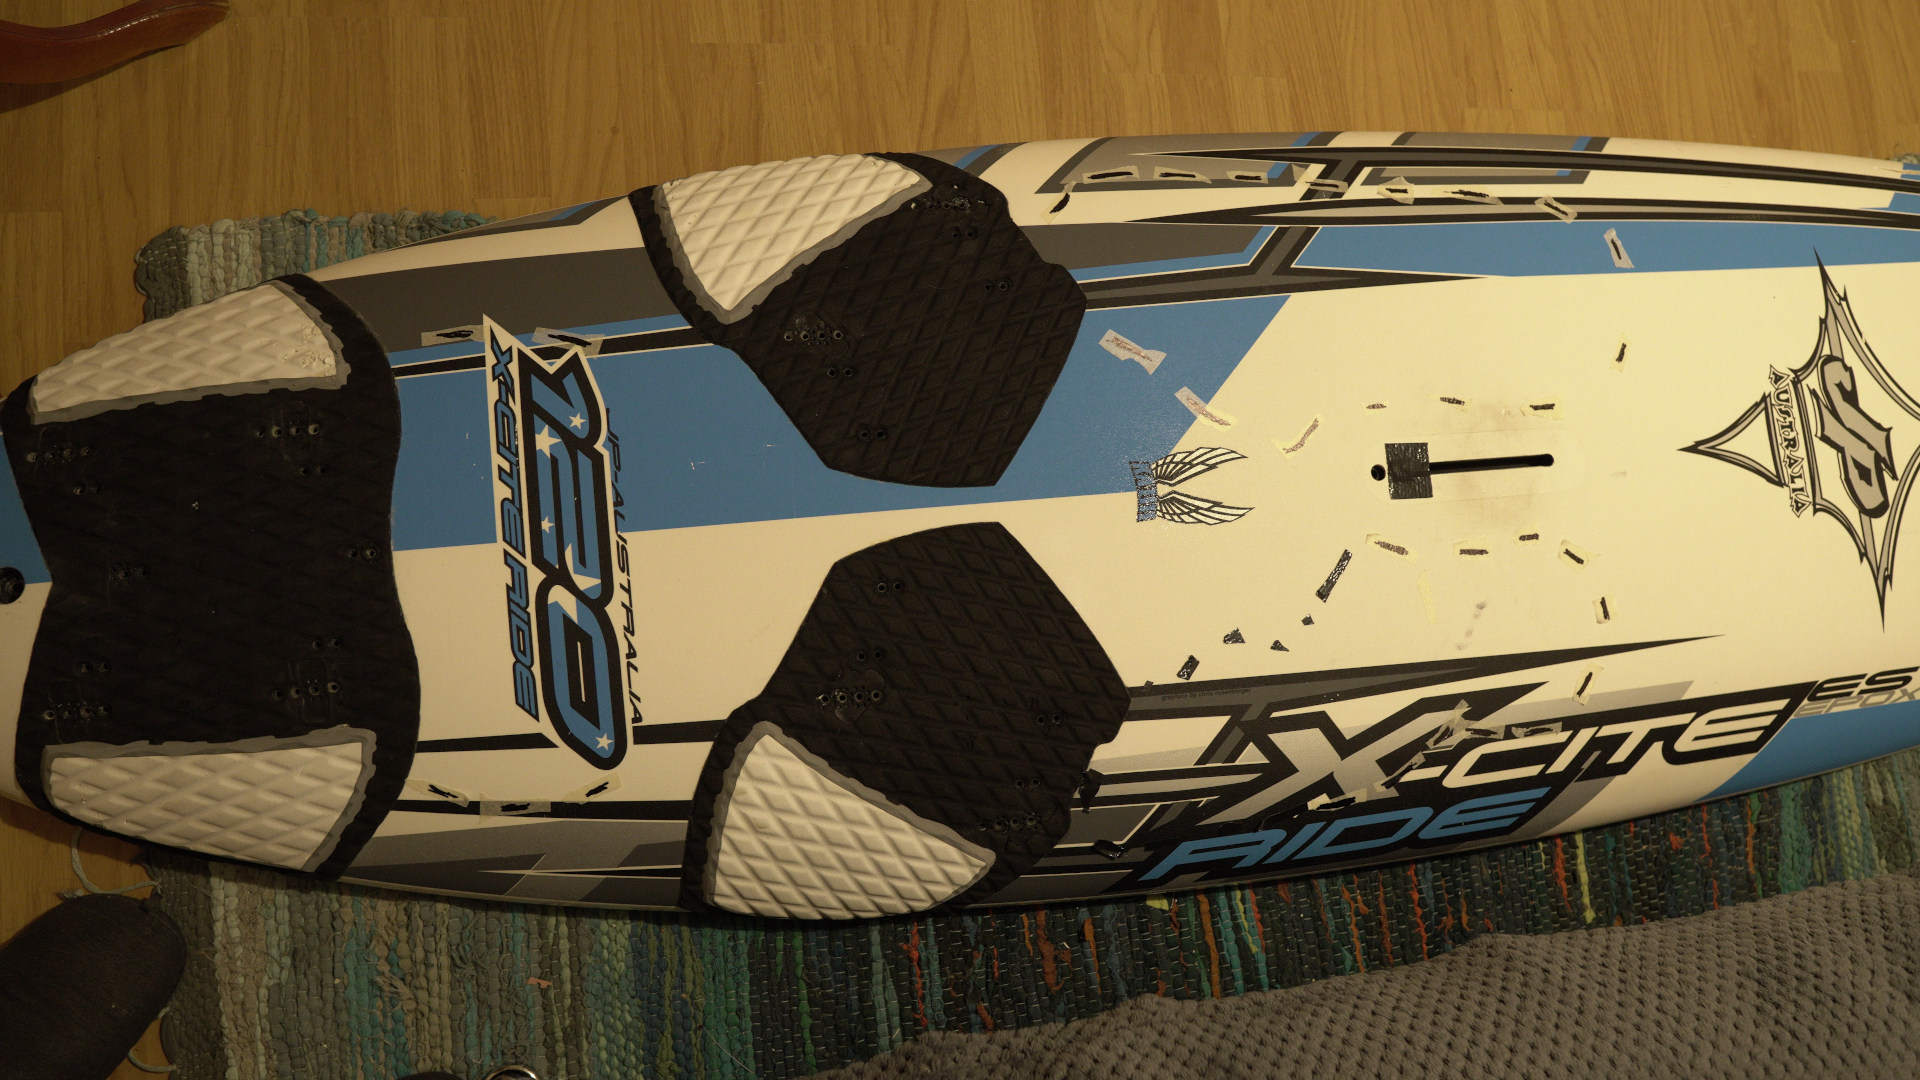
InactiveHi, is Your repair still solid after 4 years? I have soft deck problems in same area and next to mast track as well.
 .
. -
December 11, 2020 at 4:04 pm #39452
 windydougKeymaster
Hello Ahto,
Yes, to the best of my knowledge the repair is still holding up quite well. I have had nothing to indicate otherwise to me. I have had 5-10 sailing session on the board each year since the repair and it still delivers everything I have grown to love about it.
Another local sailor did a similar repair on one of his boards this fall. Maybe he will chime in on his success. He recently posted a homemade nose guard in the non wind section of the forum.
Keep us updated if you go for it with this repair.
Good luck!
Wd.
-
December 12, 2020 at 9:23 am #39454
Anonymous
InactiveDid you just injected Gorilla glue into the holes from glue bottle and after that sprayed water on it? Or it’s better to firstly mix Gorilla glue with water, inject into the hole and spray some water on it? I understand, that Gorilla glue works better on wet surfaces.
-
December 14, 2020 at 2:38 pm #39456
 windydougKeymaster
Ahto,
As I recall, I injected the Gorilla Glue into the holes from the bottle first and then sprayed the holes with water once the glue was inside. Try this on a plate or disposable surface first, to get a sense for how the glue rises for a given amount of water. The photo I shared above with all of the different results was first covered with another paper plate with holes in it and then sprayed from above. I think I may have even counted how many shots/pumps of water I used on the test so that I could do roughly the same on the board. I think I also tried to spray at an angle occasionally so that the water droplets got under the deck of the board onto the glue.
Responding to your question about mixing, in theory that sounds like it may aid uniformity, but as I mentioned in a previous post above, it was structurally less impressive. It was quite uniform, but was more “squishy” than other tests. I believe in the previous photo it is the foamy looking blob. If you are curious about spraying surface first, then applying glue, and then spraying more I would just set up a test. The worst of the area that I filled was 3/8 of an inch deep and what I did worked fine for that. I always felt that if I did not use enough glue, I could do another round on top of the first…the glue really grows with water.
I am not a pro at this, but would suggest maybe starting with a small part of the back of your board, and see how that responds. The spots around your mast base are quite large and would be more important to get right (have the process figured out) in my opinion. They get a lot of non planing force from your feet.
Windydoug
-
This reply was modified 4 years, 4 months ago by
 windydoug.
-
This reply was modified 4 years, 4 months ago by
-
-
AuthorPosts
- You must be logged in to reply to this topic.
